

Unlike the belt-driven EA211, the EA888 (found in the 1.8T and 2.0T TSI/TFSI across VW and Audi's lineup) uses a timing chain — and while chains generally outlast belts, EA888 chains and tensioners have a well-documented history of stretching and rattling, especially on pre-2013 Gen 1/2 engines. This guide covers what the job actually involves and where it differs from a belt service, because treating it like one is how people get hurt or wreck an engine.
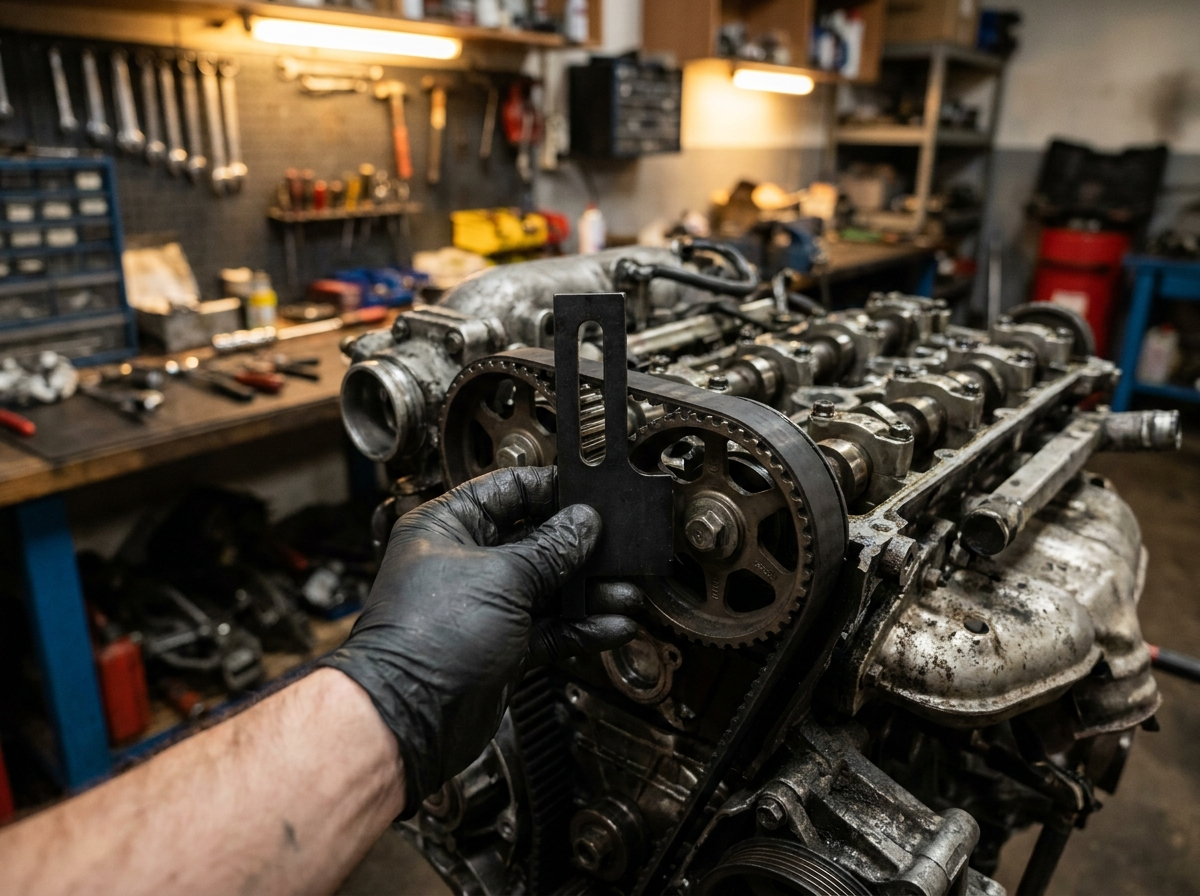
Read This Before You Start
Be honest with yourself about scope here. On many EA888 applications — particularly rear-mounted chain configurations — a full chain and tensioner replacement requires pulling the engine or dropping the subframe for access, not just popping a front cover. This is a significantly bigger undertaking than an EA211 belt job. If you haven't confirmed chain stretch first, don't start pulling the engine on a guess.
Tool You'll Need
- 2-in-1 Camshaft Timing Gear & Pulley Locking Tool — locks both camshafts at TDC for EA888 and EA211 engines


You'll also need a crankshaft pulley holding wrench (the crank bolt is torqued to a very high angular spec and the pulley must be counter-held, never impacted, to remove it), a ratcheting chain tensioner compression tool with a built-in pressure-relief valve (critical — overcompressing a hydraulic tensioner by hand pressure alone can crack the plastic chain guides), and a full replacement kit covering the chain, tensioner, and guide rails together rather than any one part alone.
Step 1: Confirm You Actually Have Chain Stretch
Before any disassembly, check camshaft adaptation values with a VAG-capable scan tool (VCDS or equivalent) — this shows how far the intake camshaft adjuster has had to compensate for chain stretch. You can also often visually inspect tensioner extension through a small inspection plug on the lower timing cover. Confirm the problem before committing to the job.
Step 2: Establish TDC on Cylinder 1
Rotate the crankshaft (never with an impact tool — hand-turn only, using the correct pulley holding wrench to counter-hold when needed) to Top Dead Center on cylinder 1, using the timing marks specified for your exact engine code.
Step 3: Lock the Camshafts
Fit the camshaft locking tool to both the intake and exhaust camshafts. It should seat flush without forcing — if it won't seat cleanly, the crank isn't precisely at TDC and you need to recheck before going further.
Step 4: Access the Timing Chain
This is where the job diverges sharply by chassis and generation. Front-mounted chain engines allow access from the front of the engine with the accessory drive and covers removed. Rear-mounted (transmission-side) chain configurations, common on later transverse applications, typically require the engine to be pulled forward or the subframe dropped for access. Confirm which configuration you have before you plan your timeline — this changes a one-day job into a multi-day one.
Step 5: Relieve and Remove the Old Chain Assembly
Using the ratcheting tensioner compression tool, relieve tension on the hydraulic tensioner slowly and evenly — the built-in pressure relief on a proper tool prevents overloading the plastic guide rails, which are a common casualty of doing this with improvised tools. Remove the old chain, tensioner, and guides as a complete set.
Step 6: Install the New Kit
Install new guides, the new tensioner (in its retracted/locked position per the tensioner's own instructions), and route the new chain per the factory routing diagram. Confirm every timing mark lines up with both cams still locked and the crank still at TDC before releasing anything.
Step 7: Release the Tensioner and Verify
Release the tensioner to engage the chain, remove the camshaft locking tool, and rotate the engine through two full revolutions by hand, bringing it back to TDC. Reinstall the locking tool to confirm it still seats cleanly — exactly the same double-check principle as a belt job, just with more at stake given how much more was disassembled to get here.
Step 8: Build Oil Pressure Before First Start
Camshaft adjusters on EA888 rely on oil pressure to lock properly. Many techs recommend disabling the injectors or ignition briefly and cranking the engine a few seconds first to build oil pressure and pre-tension everything before the actual first start, rather than starting cold and listening to a rattle you could have avoided.
Common Mistakes
- Replacing only the chain or only the tensioner — a false economy that leads to a repeat job soon after; replace the full kit together
- Using an impact wrench on the crank pulley bolt — always counter-hold with the correct tool
- Compressing the tensioner without a pressure-relief tool — a common cause of cracked plastic guide rails
- Underestimating the access job — confirm front vs. rear chain configuration before you commit a weekend to it
See our full specialty and diagnostic tools for everything else this job touches.