

Almost every interior job — a door speaker swap, a window regulator, a dash rattle, wiring for a dash cam — starts with getting a trim panel off without cracking a clip, scratching the plastic, or leaving a visible pry mark on a panel you're supposed to be able to reuse. Metal screwdrivers and flatbar pry tools are the fastest way to turn a free repair into a panel replacement.
Tool You'll Need
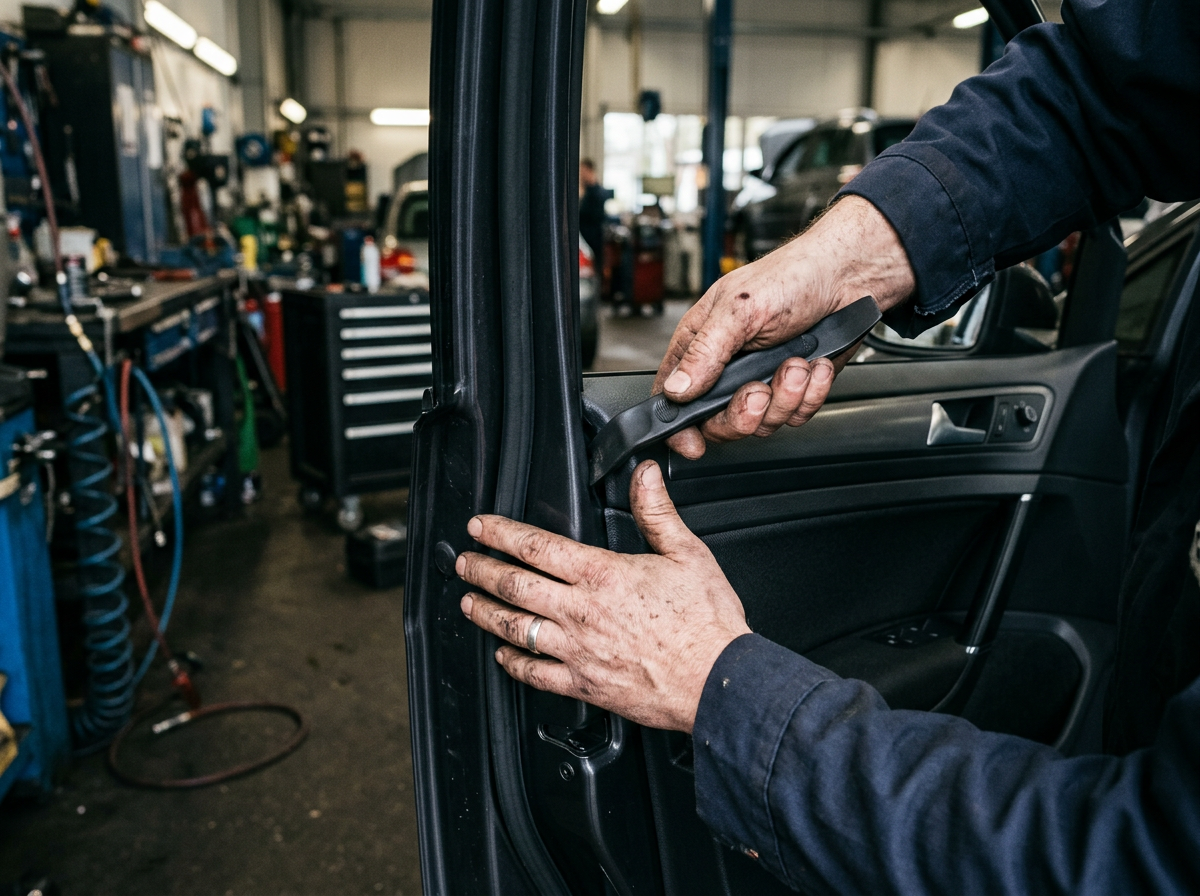
- Interior Trim Removal Kit, No-Scratch — nylon pry tools shaped for different clip types and panel gaps


Step 1: Find Every Fastener First
Before prying anything, locate every visible screw or fastener holding the panel — often hidden under a small trim cap, in a door pull recess, or behind a speaker grille. Removing these first means you're only fighting clips, not clips plus a screw you missed.
Step 2: Start at a Known Clip Point
Interior panels are held by a specific pattern of push-in clips, and most have a logical starting point — often a corner or edge — where the first clip releases most easily. Starting in the wrong spot means fighting the panel's natural flex instead of working with it.
Step 3: Work the Pry Tool Along the Clip Line
Insert the appropriate nylon tool from the removal kit at the gap nearest a clip and apply steady leverage rather than a sharp jerk. You should feel or hear a distinct pop as each clip releases. Work clip by clip along the panel's edge rather than trying to pull the whole thing free at once.
Step 4: Watch for Wiring Before You Fully Free the Panel
Door panels especially often have wiring harnesses (window switches, speakers, courtesy lights, tweeters) still connected once the clips are free. Don't yank the panel clear — ease it away just far enough to see and disconnect any harnesses first.
Step 5: Keep Clips Organized
Broken or missing clips are the single most common reason a reinstalled panel rattles or sits slightly proud afterward. Set them aside in order or by location as you go, and inspect each one — a clip that looks stressed or cracked is worth replacing rather than reusing.
Step 6: Reinstall
Reconnect any wiring first, then line the panel up and press firmly at each clip location (not just anywhere on the panel) until you feel it seat. Reinstall the screws you found in Step 1 last.
Common Mistakes
- Using a metal flathead — scratches plastic and can crack clip mounting points that a nylon tool would have flexed around
- Missing a hidden screw — fighting a screwed-down panel with pry tools alone is how panels crack
- Pulling the panel fully free before checking for wiring — stresses or snaps harness connectors that were still attached
- Reusing a visibly damaged clip — a $2 part now versus a rattling panel for the life of the car
See our full hand tools lineup for more interior and general repair essentials.